What GitHub Desktop actually does for you
You already have a project folder on your computer. GitHub Desktop is the “no command line” way to put Git around that folder, so you can track changes and safely sync them to GitHub. It helps you do three core jobs: create a repository from an existing folder, make commits (small snapshots with a message), and publish/push those commits to GitHub.
It also makes the workflow visible: you edit files, GitHub Desktop shows what changed, you choose what to include, then you commit and push. The main trade-off is that it won’t automatically know what’s “junk” or sensitive—so you still need to be careful about things like build folders, large files, and secrets before you upload anything.
Quick prep: accounts, installs, and project sanity check
Before you click anything, make sure you can sign in to GitHub in a browser and that you know whether this project should be public or private. Then install GitHub Desktop and open it once so it can prompt you to sign in and set your name and email (those show up in commit history). If you’re on a school or work machine, watch for locked-down permissions: Desktop may need access to your Documents folder or your code folder to work normally.
Do a quick sanity check inside your project folder. Look for obvious “don’t upload” items like node_modules, dist/build output, .env files, API keys, or big media exports. If you see secrets, move them into a local-only file and plan to ignore it with a .gitignore. This is the annoying part, but it’s cheaper than accidentally publishing credentials or a 2 GB folder and then trying to clean up the history later.
Add your existing folder as a repository
You’re starting from a folder that already exists, so you don’t want “New repository”—you want to tell GitHub Desktop to start tracking what’s already there. In GitHub Desktop, use File → Add Local Repository, then Choose… and pick your project’s root folder (the one that contains your real files, not a parent folder full of unrelated projects). If Desktop says it can’t find a Git repository, choose Create a repository. This adds a hidden .git folder and nothing gets uploaded yet.
When it asks for a name and description, keep the name simple and match the folder name unless you have a reason not to. Leave “Initialize this repository with a README” off if you already have a README file in the folder, or you’ll end up with duplicates to resolve. If there’s an option to add a .gitignore, select the closest template for your stack (Node, Python, Unity, etc.), then skim the “Changes” list right after—this is your first chance to catch surprises like large exports, secrets, or generated folders before they become part of history.
Make your first commit without committing junk
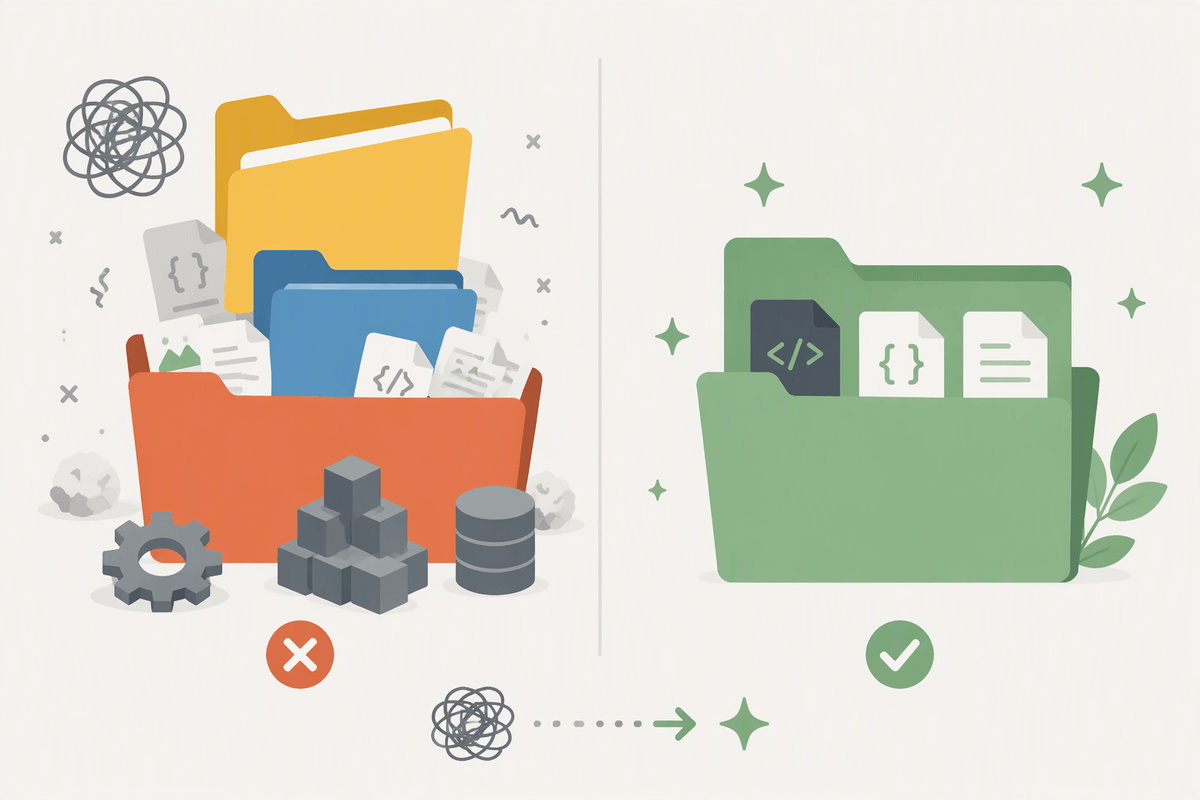
You’ll now see a list of changed files in the left sidebar. This is the “staging” moment: you’re choosing what goes into the snapshot. Uncheck anything that shouldn’t be tracked, like build output, exported zips, logs, or local settings files. If you spot something like a .env or a credentials file, stop and fix it before committing: move secrets out, add the filename to .gitignore, and confirm it disappears from the list. GitHub Desktop can help you create or edit a .gitignore, but it won’t guess what’s sensitive.
Once the list looks clean, write a short Summary like “Initial commit” (and optionally a longer Description), then click Commit to main. Expect the first commit to be bigger than future ones, but keep it reasonable. If you’re about to commit thousands of files (common with node_modules) or hundreds of megabytes, that’s a sign your ignore rules aren’t right yet—and fixing it now saves you from slow pushes and messy history later.
Publish to GitHub: repo settings you’ll care about
After that first local commit, you’re ready to put the repo on GitHub. In GitHub Desktop, click Publish repository. You’ll be asked for a few settings that matter more than they look: the repository name (usually keep it the same as the folder), the description (optional), and whether it’s Public or Private. If you’re not sure, choose Private—you can make it public later, but you can’t un-leak something once it’s been indexed, cloned, or copied.
Pay attention to the “Keep this code private” checkbox and which GitHub account or organization it’s publishing under. If you’re on a school or work account, it’s easy to publish into the wrong place and then wonder why classmates can’t see it. Also consider leaving the box checked to “Publish” without creating extra files; you already made your initial commit locally, so you’re mainly creating the remote home. The practical constraint: large first pushes can be slow, and big files may be rejected, so it’s worth staying lean.
Verify it worked: push, view online, clone test
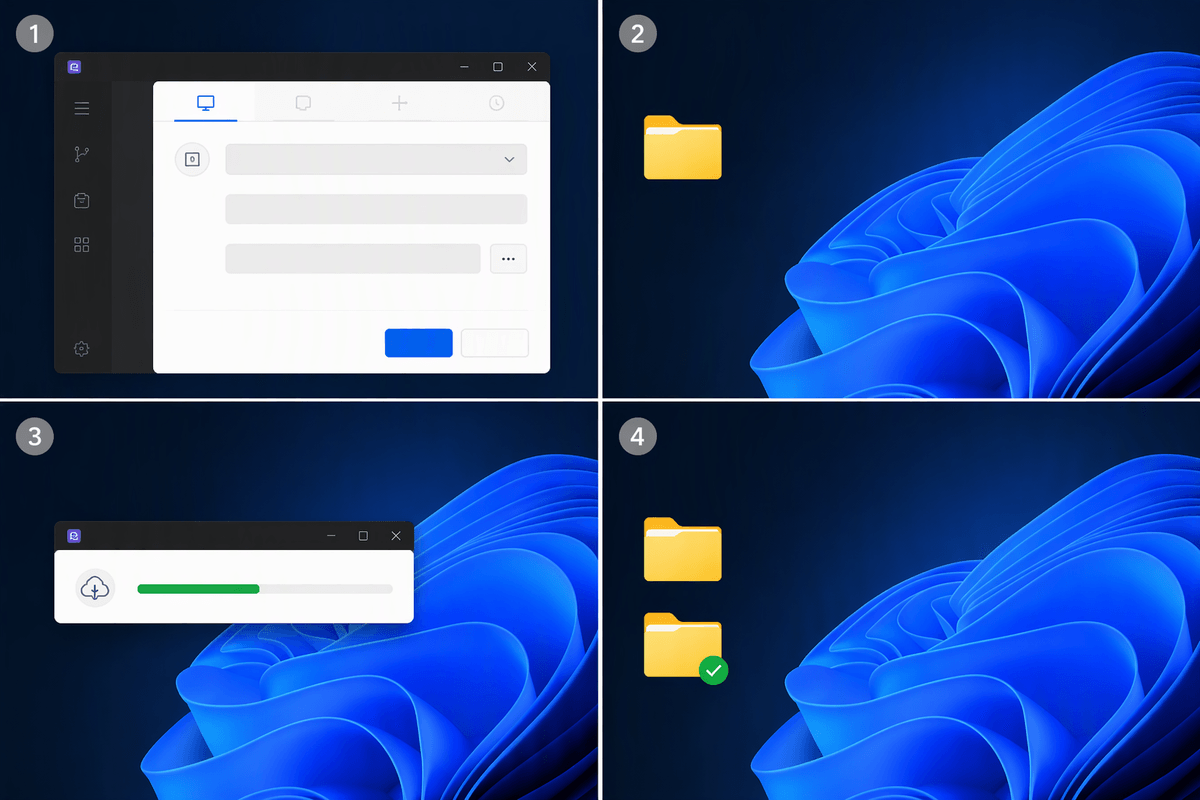
You should now see a “Fetch origin” or “Pull origin” button and a status line that says you’re up to date. If you still see “Push origin,” click it—publishing creates the GitHub repo, but your latest commits still need to be pushed if they aren’t already. When the push finishes, click View on GitHub (or open the repository in a browser from GitHub Desktop) and confirm three things: your files are there, the default branch is main, and nothing sensitive shows up (like a .env, keys, or a giant build folder). If something looks wrong, fix it locally first, commit, and push again.
For extra confidence, do a quick clone test into a separate empty folder (not inside your project). In GitHub Desktop, choose File → Clone Repository, pick the repo, and clone it. Open the cloned folder and make sure it runs or opens the way you expect. This costs a few minutes, but it catches missing files, uncommitted changes, and “it worked on my machine” setup issues early.
Next steps that keep your project healthy
The easiest habit to keep is: commit small and push often. If you finish a tiny change (fix a typo, add a function, update a layout), commit it with a clear message, then Push origin so your GitHub copy stays current. When you start work for the day, click Fetch origin first so you’re not building on an outdated version, especially if you use more than one computer.
Keep your repo lightweight and safe. If you add a new tool and suddenly see thousands of files, update .gitignore before committing. Avoid committing secrets even “for a minute”—cleaning history later is painful. If you need to share, use Private by default and only switch to Public when you’ve reviewed what’s inside.