Why Snipping Tool Deserves a Second Look
Many Windows users open Snipping Tool only when they need a quick rectangular screenshot. That works, but it overlooks features that can make everyday tasks faster. The app can capture selected areas, windows, or the full screen, add useful markings, extract text from images, and record short screen videos.
Those options are practical rather than flashy. You can highlight a setting for a colleague, copy text from a scanned document, show a support technician what went wrong, or record a brief sequence of steps. The main limitation is that Snipping Tool is designed for quick, focused captures—not extensive image editing or long, polished recordings. Used for the right situations, however, it can replace several separate steps.
Choose the Capture Mode That Fits
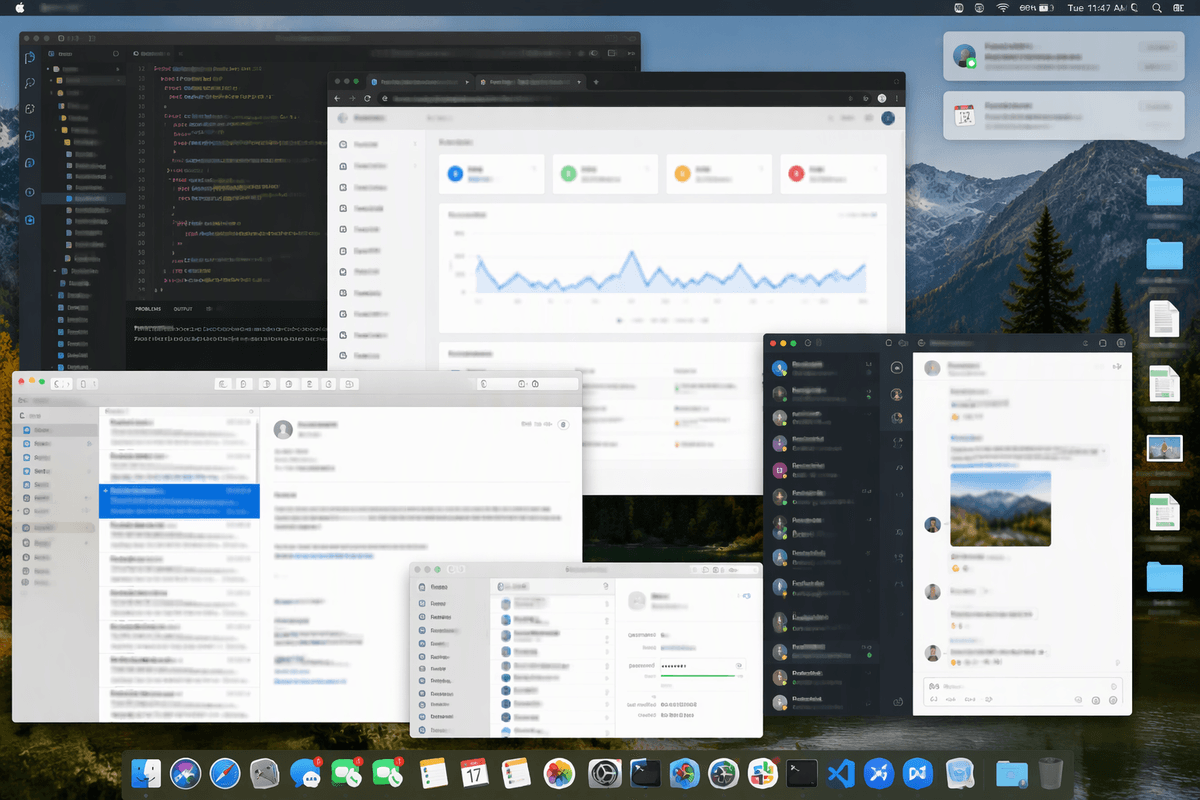
The best capture mode depends on what the reader needs to understand. Use Rectangular snip for most tasks, such as saving part of a webpage, cropping out unrelated information, or focusing attention on one setting. Choose Window snip when an entire app window matters, since it usually produces a cleaner result than dragging around the edges manually. Full-screen snip is useful for showing everything visible, but it can include notifications, private details, or clutter that you did not intend to share.
Freeform snip works when the subject has an irregular shape, though it is less precise and can take longer to draw. You can usually start a capture with Windows+Shift+S, then select the mode from the toolbar before dragging. A small selection is often better than a complete desktop image: it reduces distractions, creates smaller files, and makes the important detail obvious. Before capturing, close sensitive windows and check whether the selected area includes names, account numbers, or message previews.
Use Delays for Difficult Screenshots
Some screens disappear as soon as you begin selecting them. Menus close, tooltips vanish, and context menus may be replaced by the Snipping Tool overlay. For these situations, use the Delay option before starting the capture. A short delay gives you time to open the menu, move the pointer into position, or reproduce the screen state you need.
Open Snipping Tool, choose a delay of a few seconds, and then set up the screen. When the countdown ends, select the capture area as usual. This works well for documenting multi-step settings, capturing a tooltip, or showing an error that appears only after a button is pressed. Use the shortest delay that gives you enough time; longer waits make the process harder to control and may capture unrelated notifications or screen changes. If timing remains difficult, rehearse the steps once, then start the delayed capture immediately before repeating them.
Mark Up Screenshots Before Sharing
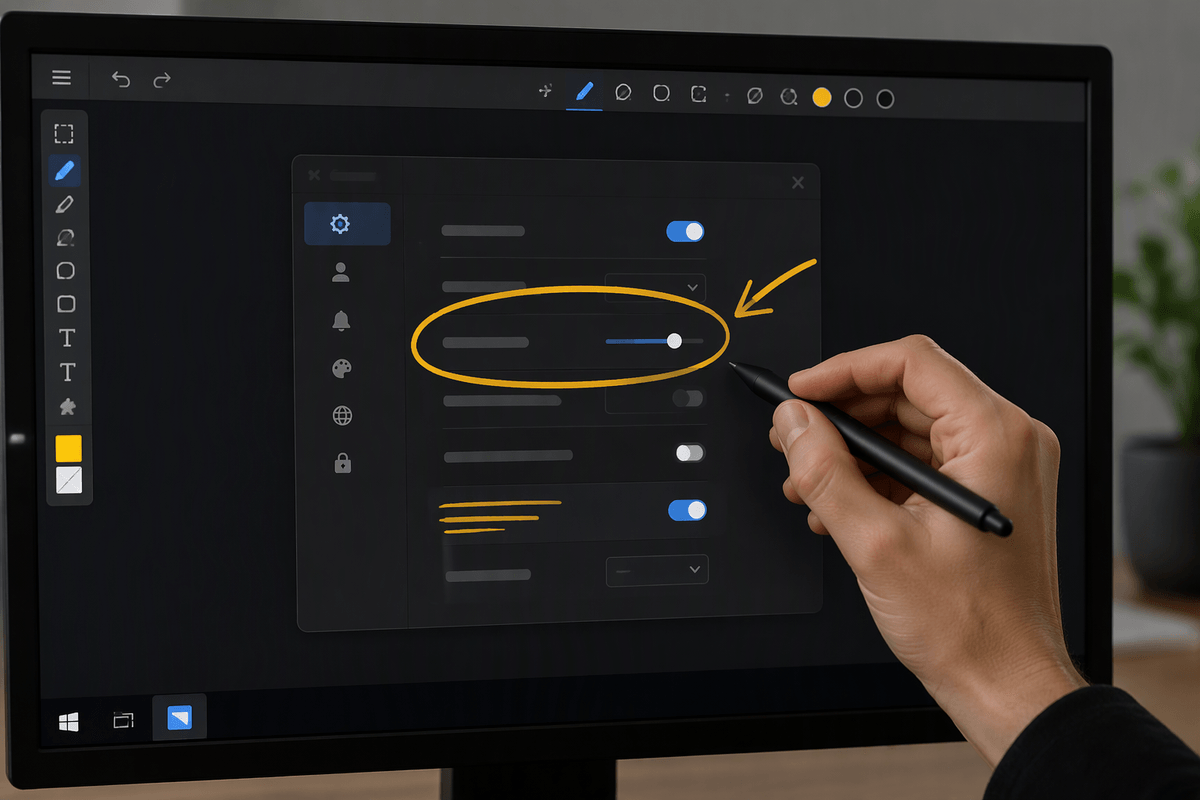
A screenshot is often easier to understand after a small amount of markup. Once you capture an image, use the Snipping Tool’s pen or highlighter to draw attention to a setting, button, error message, or line of text. A quick circle or arrow can save the recipient from searching through the entire image. Use the highlighter for emphasis and the pen for precise marks; choose colors that remain visible against the background without covering the detail underneath.
Markup is especially useful when explaining a troubleshooting step or reviewing work with someone else. Keep the annotations limited to the information the reader needs, and use the eraser if your first attempt becomes cluttered. Before sharing, inspect the entire image for passwords, personal names, notification previews, or unrelated browser tabs. Marking up a screenshot does not remove sensitive information that remains visible, and careless highlighting can draw attention to it instead. For permanent redaction, cover private details completely and verify that no readable portion remains before saving or sending the image.
Pull Text Directly From Images
When a screenshot contains text you need elsewhere, do not retype it automatically. Open the image in Snipping Tool and use Text actions to scan the capture. The tool can recognize words in webpages, error messages, scanned documents, photos, and dialog boxes, allowing you to copy selected text or copy everything at once. This is useful for moving a long error code into a search, quoting a setting, or turning information from an image into editable notes.
Review the extracted text before using it. Recognition can misread small fonts, unusual typefaces, blurred images, symbols, or characters such as “0,” “O,” and “1.” A screenshot with clear contrast and enough resolution usually produces better results, so capture the relevant area rather than a distant full screen. Text actions may also offer a quick way to redact sensitive information before sharing, but treat that as a convenience rather than a guarantee. Check the original image yourself, since copied text does not remove passwords, account numbers, or other private details from the saved screenshot.
Record Short Screen Videos Instead
When a still image cannot show the problem clearly, use Snipping Tool’s Record option to capture a short screen video. It is useful for demonstrating a sequence, such as opening a menu, changing a setting, reproducing an error, or showing where a control appears. Select the area to record, start the capture, perform the steps at a normal pace, and stop when the important action is complete. A focused clip is usually easier to watch than a recording of the entire desktop.
Keep recordings brief and check the selected area before starting. Notifications, private messages, and account details can appear during the capture just as they can in screenshots. Avoid recording unnecessary pauses, and repeat the demonstration if the pointer moves too quickly or the key action is easy to miss. Screen recording also creates larger files than still images, and Snipping Tool is better suited to quick instructions or troubleshooting than long presentations or edited tutorials. For sharing, trim the task to its essential steps when possible, then play the saved video once to confirm that the result is clear and that no sensitive information was included.
Build a Faster, Safer Capture Routine
A reliable routine starts before you press capture. Decide whether the task needs a still image, extracted text, or a short recording, then choose the smallest area that shows the relevant detail. Use Windows+Shift+S for quick screenshots, and open Snipping Tool when you need a delay, markup, text actions, or recording. Keep a consistent save location and use descriptive filenames so you can find captures later instead of creating duplicates.
Make privacy checks part of the routine, not an afterthought. Close unrelated windows, hide notifications, and inspect the finished image or video for passwords, names, account numbers, and message previews. Review annotations and extracted text as well, since neither removes sensitive information from the original capture. Snipping Tool will not replace a full image editor or video studio, but matching the feature to the task keeps everyday work quick, clear, and easier to share safely.