Before you toggle 2FA, what changes to expect
You usually turn it on expecting one extra step at sign-in, then get surprised when every device starts asking for codes. That’s normal. With Apple’s two-factor authentication, your password alone stops being “enough,” so new sign-ins (a new browser, a wiped iPhone, a friend’s Mac) also need a short verification code sent to a trusted device or phone number.
The catch is convenience shifts. You’ll see more prompts when you set up new hardware, and you’ll rely on access to at least one trusted device or number. If your phone number changed recently—or your only trusted device is the one you might lose—pause and fix that first.
Quick check: are your devices and number ready?
It’s common to start setup on your iPhone and realize your Mac is on an old login, your iPad is signed out, or your only trusted number is a SIM you barely use. Fixing those now makes the rest of 2FA feel boring—in a good way. On each Apple device you still have, open Settings (or System Settings) and confirm it’s signed in to the same Apple Account you plan to protect. If one device keeps asking for the Apple Account password, take two minutes to get it working before you add more sign-in steps.
Then look at the phone number Apple will use for codes. Use a number you can receive texts or calls on today, not one tied to a work phone you might return or a travel eSIM you’ll cancel. If you’re about to change carriers or numbers, wait until the new number is active, because number swaps are where lockouts usually begin.
Turning on two-factor authentication without second-guessing prompts
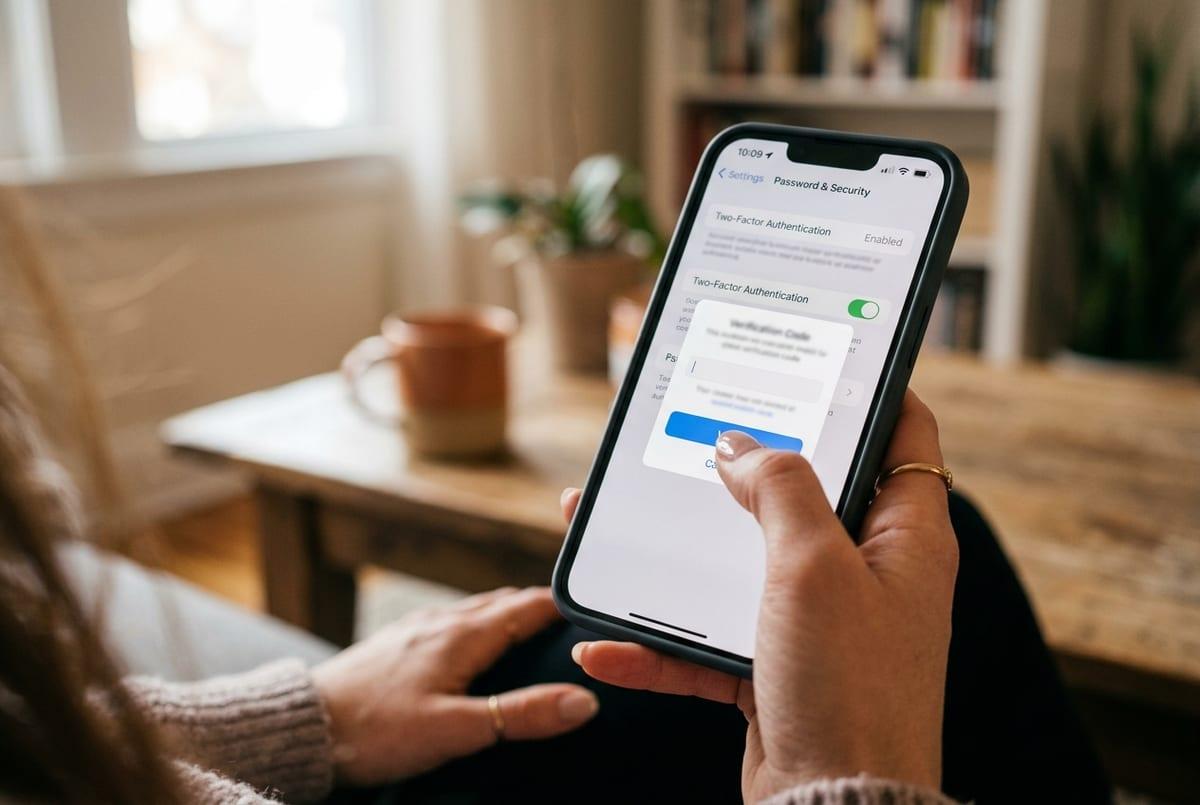
You tap the switch for two-factor authentication and the screen immediately asks you to confirm a trusted phone number. Use the number you can answer right now, then choose text or phone call. If a code doesn’t arrive within a minute, don’t keep retrying—check that your phone has service, that Focus or spam filtering isn’t hiding messages, and that the number shown is actually yours.
When Apple asks for a verification code, treat it like a receipt check: the prompt should show a map and a rough location for the sign-in. If the location or device doesn’t match what you’re doing, hit Don’t Allow. If it does match, allow it and enter the code exactly once on the device that started the sign-in. The most common stumble is typing the code into the wrong device because multiple screens are asking at once, which is why the location check matters.
Once it completes, stay in account settings long enough to confirm your trusted number is saved, then move on to which code matters when several devices light up.
When multiple Apple devices light up, which code matters?
You try to sign in on your Mac, and your iPhone, iPad, and maybe even a watch all pop up with a code at once. In that moment, the only code that matters is the one you enter on the device where you’re actively signing in—the Mac’s sign-in box, the browser tab, or the app that asked for it. The other devices aren’t “extra steps.” They’re just other trusted devices showing the same approval moment from their side.
Use the prompt’s details to stay oriented. If you’re signing in on a MacBook in your house, the prompt should name that Mac (or at least show a nearby location). If it shows a device you don’t recognize or a place you aren’t, choose Don’t Allow and stop. One real annoyance: codes can refresh quickly, so don’t copy an older one from a different device if the screen already updated.
If you allowed it but nothing works, cancel the sign-in and start again—clean beats frantic.
Trusted phone numbers: keep one, add a backup
A lot of people finish 2FA setup with exactly one trusted phone number, then forget it exists until the day their phone is lost, their number changes, or texts stop arriving while they’re traveling. Keep one “daily driver” number that you control and can answer fast, but add a second number that lives somewhere else—like a spouse/partner, a close family member, or a prepaid line you keep active.
In your Apple Account settings, look for Trusted Phone Numbers and confirm two things: the primary number is current, and the backup can receive calls or texts right now. Don’t use a work number you might lose, and don’t use a VoIP number unless you’ve tested that it reliably receives Apple codes. One downside: maintaining a backup line can cost money, so borrowing a trusted person’s number is often the simplest option.
Once you have two numbers, recovery choices get easier to set up without guesswork.
Your lockout prevention plan: recovery contact or key?
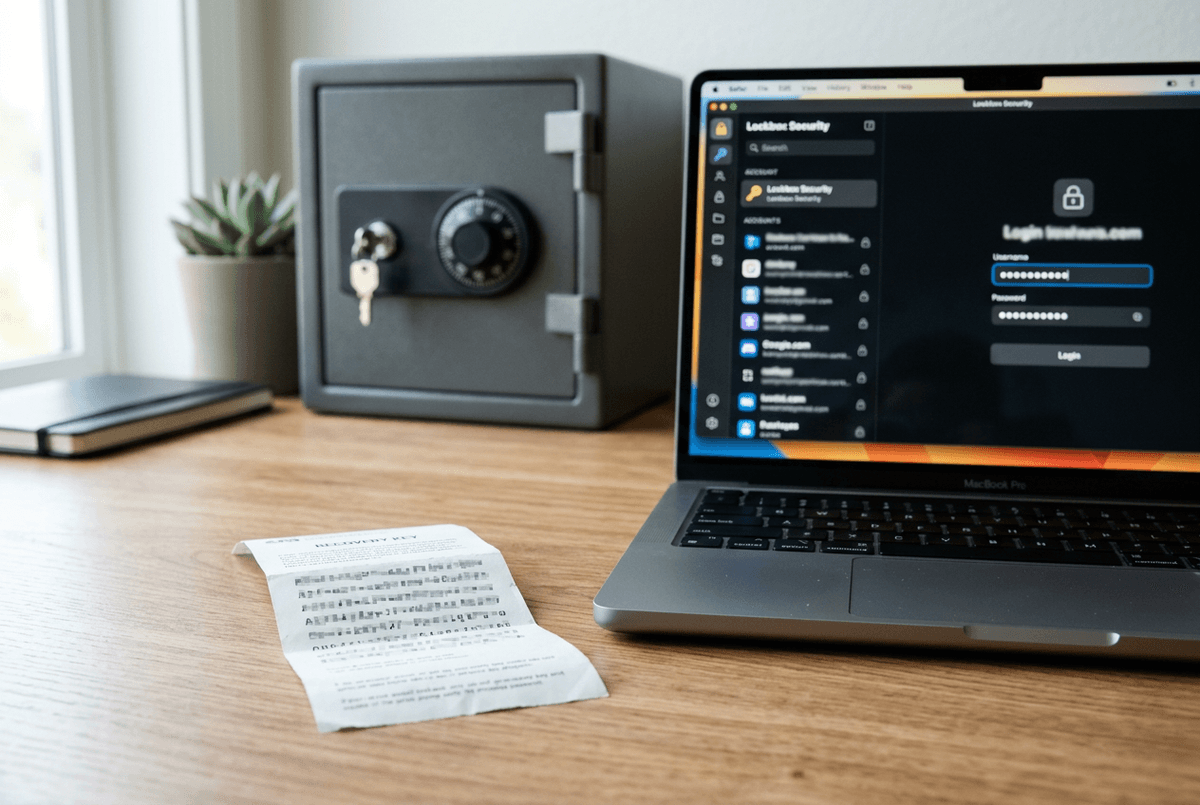
You usually don’t think about recovery until the day you’re staring at a “verification required” screen with no working phone number. That’s the moment this decision is for. Apple gives you two practical ways to reduce lockout risk: a recovery contact or a recovery key. Both are about proving it’s really you when your usual trusted devices and numbers aren’t available.
A recovery contact is the easiest day-to-day choice for most people because it’s a real person you can reach quickly. Pick someone steady—someone who won’t change numbers often and who won’t ignore a message from you. The catch is social, not technical: you’re relying on them to answer, and you’ll need to keep that relationship current.
A recovery key is stricter. It’s a long code you store yourself (password manager plus a printed copy in a safe place works). If you lose it, you can make recovery harder, not easier. If you want the simplest plan, choose a recovery contact; if you want maximum control, choose the key—then write down where it lives before you leave settings.
After setup: a simple routine to stay secure
The week after you enable 2FA is when small gaps show up: a rarely used iPad asks for your Apple Account password, or an old browser session prompts for a code at a bad time. Take five minutes now to sign in everywhere you still use, then sign out of anything you don’t recognize in your Apple Account device list.
Set a calendar reminder every few months to review trusted numbers and your recovery contact or key location—especially after a new phone, a carrier change, or travel. The practical annoyance: Apple’s prompts can feel frequent during hardware changes, so avoid “Allow” on autopilot; glance at the device name and location each time.