Start With a Simple Brainstorming Goal
A productive online brainstorm usually starts with a question everyone can answer, not a blank board. Instead of asking, “What should we do next?” narrow the goal to something like, “What features would make our student app easier to use?” A focused question gives participants a clear target and makes unrelated ideas easier to set aside.
Decide what you need by the end of the session: a long list of possibilities, three promising directions, or one practical solution to explore. Share that outcome before opening the whiteboard, and set a reasonable time limit, such as 20 or 30 minutes. Keep the first session small enough to manage. More participants can produce more ideas, but they also make the board harder to organize and give each person less room to contribute.
Choose a Free Whiteboard That Fits
For a short brainstorming session, choose a whiteboard that feels easy to open and easy to understand. Look for a free plan that lets participants add sticky notes, draw simple shapes, type text, and move items around without installing software. Real-time editing and a shareable invitation are more important than advanced templates. If people need to create accounts, check that before the meeting so no one loses time at the door.
Keep the tool’s limits in view. Free plans may restrict the number of boards, collaborators, or storage time, and some features may be available only during a trial. A crowded interface can also slow down beginners, even when the tool is technically powerful. Test the board from a second browser or device, confirm that guests can edit, and make sure you know how to undo changes. For most casual groups, a plain board with a clear canvas is better than a feature-heavy workspace that requires a tutorial.
Set Up the Board Before Anyone Joins
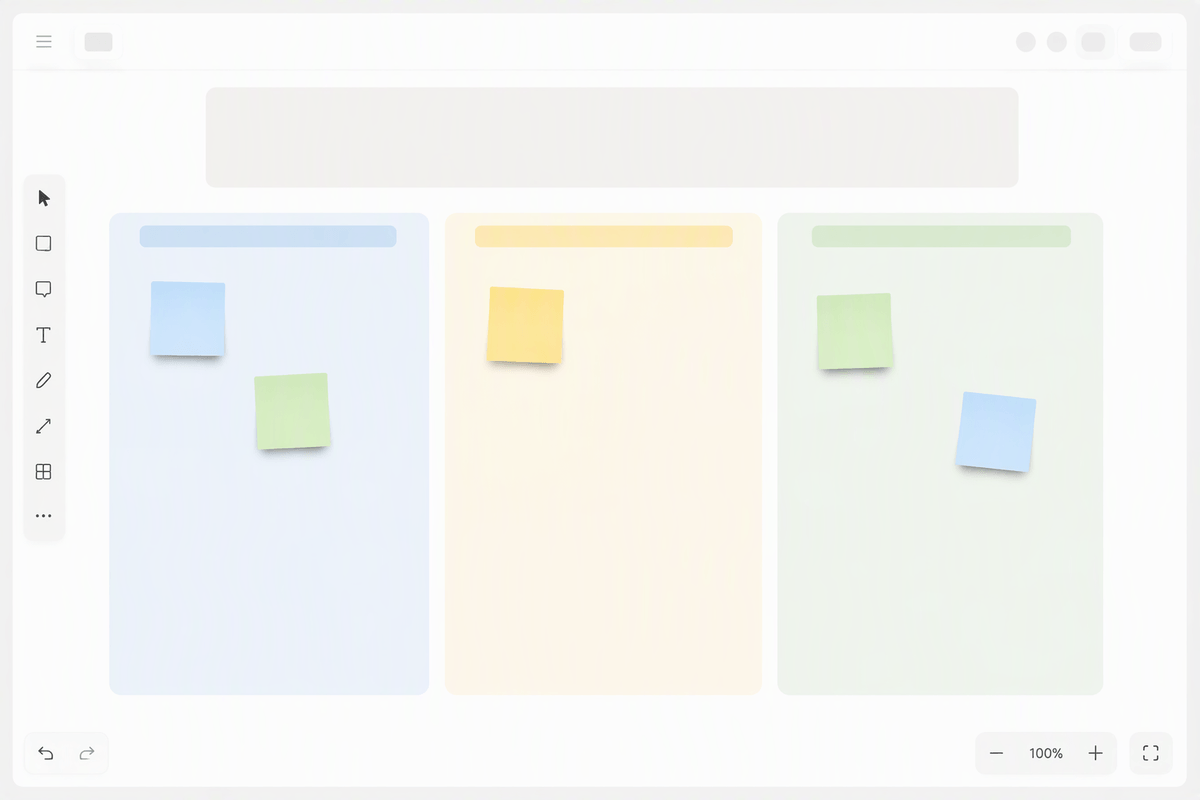
A blank board can make people hesitate, so prepare a simple layout before sending the invitation. Put the brainstorming question at the top, then create a clearly labeled area for new ideas. If the group will discuss several topics, divide the canvas into columns such as “Ideas,” “Questions,” and “Possible improvements.” Leave plenty of empty space between sections so notes remain readable when the board fills up.
Add a few short instructions directly on the board: one idea per note, write enough detail to understand it, and hold criticism until the idea-generation time ends. You can also place a sample note in a corner to show the expected level of detail. Choose readable colors and text sizes, and lock the labels or background shapes if the tool supports it. Before anyone joins, test the sharing permission, zoom level, and editing tools from the participant’s view. A few minutes of preparation prevents common problems, such as guests being unable to type or accidentally moving the entire layout.
Invite People and Explain the Ground Rules
Send the invitation with the board link, the session goal, the expected length, and any access requirements in one clear message. Tell participants whether they should join from a browser, create an account, or use a specific display name. If the group includes people who are new to online whiteboards, ask them to open the board a few minutes early and test adding a note. Keep a backup way to share ideas, such as chat or a shared document, in case someone cannot edit the board.
Explain the ground rules before idea generation begins. Give everyone a minute to add ideas silently, then invite people to build on each other’s notes. Use one idea per note, keep wording brief, and avoid judging or solving ideas while the list is still growing. Decide how participants will ask questions and whether the facilitator or everyone may move notes. These rules reduce interruptions, but do not make the session rigid. Some people may need extra time to type, and technical delays can happen, so leave a few minutes of flexibility in the schedule.
Run the Brainstorm Without Losing Momentum

Start the session with a short silent idea sprint. Give everyone three to five minutes to add notes without discussing them, then invite participants to read their ideas aloud or add brief explanations. This helps quieter people contribute before the fastest speakers take over and gives the group something concrete to discuss. If the board supports a timer, use it; otherwise, announce the halfway point and the final minute.
Once the first ideas are visible, keep the conversation moving with focused prompts. Ask questions such as, “What else could solve this problem?” or “How could we make that easier for a beginner?” Encourage participants to build on existing notes instead of repeating them, and capture useful variations as separate notes. When discussion becomes detailed, park the issue in a “Questions” area and return to idea generation. As facilitator, watch both the clock and the board: bring in people who have not contributed, redirect side conversations, and combine duplicate wording only when everyone agrees. Leave a few minutes for one final round of ideas, since useful suggestions often appear after participants see the first set.
Group, Prioritize, and Turn Ideas Into Next Steps
When idea generation ends, stop adding notes and make the board easier to read. Group notes that describe the same need, user, or solution, but keep distinct ideas separate. Ask the group to explain unclear notes before moving them, and use a “Parking lot” area for suggestions that do not match the main goal. This is also the time to remove accidental duplicates, not ideas that seem difficult or unpopular.
Choose a simple way to prioritize the remaining groups. Participants can place dots on their top choices, mark favorites with a symbol, or rate each option against criteria such as usefulness, effort, and cost. Limit the number of votes so the results show real preferences. Treat the outcome as guidance rather than a final decision; a popular idea may still require research or technical work. End by assigning each selected idea a next action, an owner, and a due date. Record these details in a visible “Next steps” area, then capture unanswered questions and decisions before closing the session.
Finish With a Board You Can Reuse
Before closing, clean the board so it remains useful after the meeting. Keep the final groups, chosen ideas, next steps, owners, and due dates, and move unused notes to an archive or “Later” area. Add the session date and a short label so people can recognize the board later. Remove temporary instructions, duplicate notes, and unrelated scribbles that could confuse someone reviewing the results.
Save or export a copy if the free plan limits storage or editing history, then check the sharing settings again. Decide who may edit the board and who should have view-only access. A reusable board can include the same sections for the next session, but start each new brainstorm with a fresh idea area. This preserves the useful structure without mixing old decisions with new thinking.